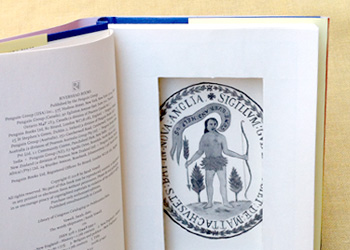
Adding a Background Image
This is an easy way to spruce up a book safe. The background image can be added any time before the inside of the book safe is glued.
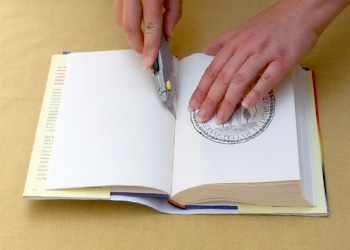 Step 1: Get the background image.
Before you start making the book safe, either A) find a good looking page inside the book and carefully cut it out, or B) use any other picture that will fit.
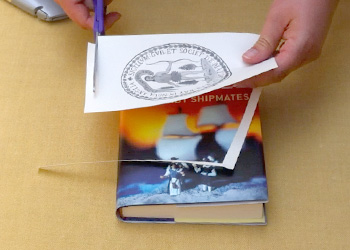 Step 2: Trim the background image on all sides.
Cut off about 1/4 to 1/2 an inch from all sides
so that it's smaller than the rest of pages in the book. This way the edges won't stick out in case you glue it down off-center.
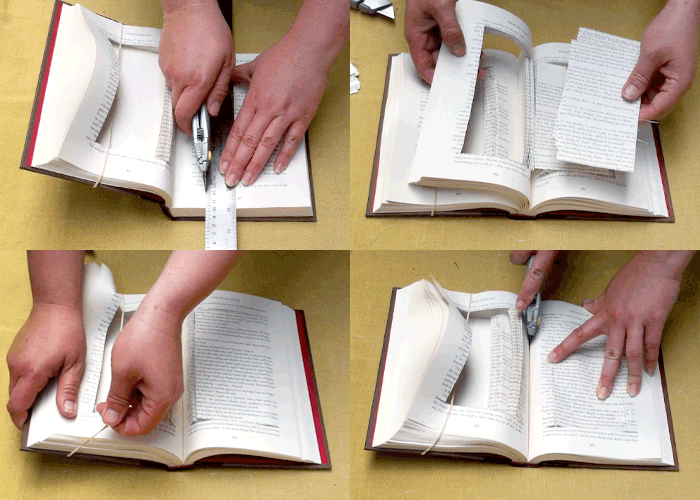 Continue making the book safe.
Follow the Basic Instructions normally from Step 1 through Step 16, stopping before you get to Step 17. Before you glue the inside of the cavity, you'll need to glue down the background image.
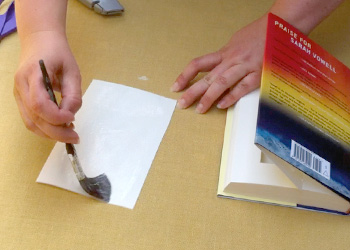 Step 3: Coat the back of the image with glue.
Spread a thin layer of glue over the entire back of the image. You can either use a brush and white glue, or a glue stick.
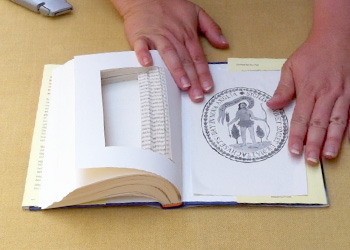 Step 4: Press the image down, and make sure it's flat.
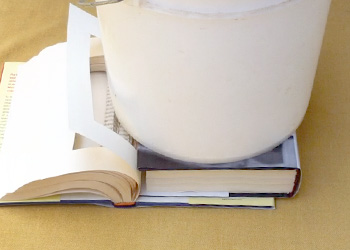 Step 5: Compress it and leave it to dry.
Put something flat and heavy on top of the image, and leave it until it has dried completely. In the photo on the left, I used another book for the flat part and a bucket of rocks for the heavy part.
If the background image is not glued down and dry, it will warp when you glue the inside of the book safe.
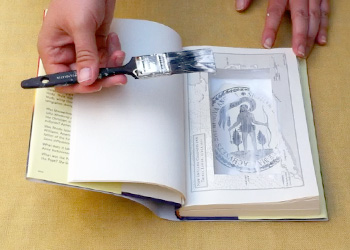 Finish the book normally.
Once it's dry, flip over the cut pages and resume Step 17, gluing the inside of the book, and follow through to the end.
